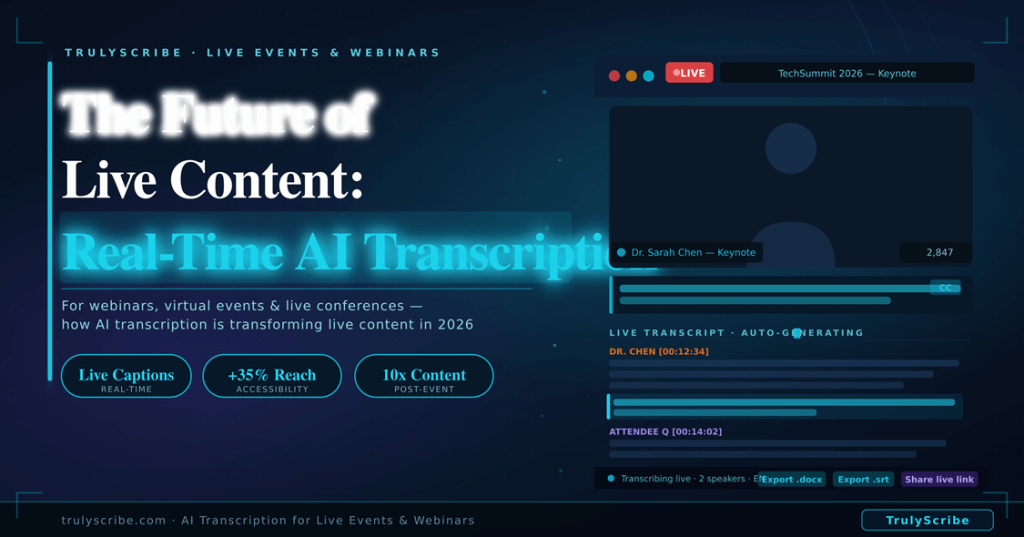
The Future of Live Content: Real-Time AI Transcription for Webinars & Virtual Events (2026)
The virtual event industry exploded during 2020 and 2021, and it never fully retreated. In 2026, webinars, online conferences, virtual summits, and hybrid events are a permanent feature of how organisations communicate, educate, and generate leads. The production quality has improved dramatically. The audiences have grown. The expectations have risen. But one gap has persisted: the moment a webinar or virtual event ends, the spoken content inside it largely disappears. Replays are watched by a fraction of the live audience. Q&A sessions are answered once and forgotten. Expert insights that took months to organise and hours to deliver are accessible only to people who attended at exactly the right time, in the right time zone, with enough attention to catch everything. AI transcription is closing that gap in 2026. Real-time transcription during live events creates captions and accessible records as speakers talk. Post-event AI transcription turns the full recording into a searchable, repurposable content asset within minutes of the session ending. The result is that a single one-hour webinar can now generate a week’s worth of content, reach audiences who couldn’t attend live, and continue driving traffic and leads for months after the event date. This guide covers how event organisers, marketers, and content teams are using AI transcription for live and virtual events in 2026 — the technology, the workflows, the accessibility benefits, and the step-by-step implementation for your next event. The Hidden Content Loss Problem in Virtual Events Every webinar and virtual event represents a significant investment. Speaker coordination, platform costs, promotional effort, slide design, pre-event emails, live facilitation — a professionally produced webinar typically represents 20 to 40 hours of work to deliver 60 minutes of content. And then most of that content effectively disappears. 75% of webinar registrants who don’t attend live never watch the replay — they never access the content at all 6–10 pieces of high-value content that can be generated from a single webinar transcript 3x longer average time-on-page for event pages that include a full published transcript vs those with video only The core problem is format. A video replay requires a significant time commitment from someone who already knows roughly what they’re going to find. A searchable, skimmable transcript changes that equation completely. Someone who missed the live event can read the full transcript in 15 minutes, find the specific section relevant to their question, and share a quote with their team — all without watching 60 minutes of video. AI transcription transforms a video recording from a passive archive into an active, accessible, searchable content asset. That transformation starts with understanding the two distinct modes in which it works: real-time during the event, and post-event from the recording. Real-Time vs Post-Event Transcription: Understanding the Two Modes Transcription Approach Live / Real-Time Transcription Post-Event AI Transcription When available Appears on screen as speakers talk Ready 10–30 min after event ends Accessibility Live captions for deaf/HoH attendees Transcript published for replay viewers Attendee experience Follow along in real time Search and reference after the event Accuracy 90%+ with good audio; improves with adaptation 92–96% on clear recorded audio Content repurposing Limited during live session Full transcript available immediately post-event Speaker correction Real-time correction not always possible Full review and edit before publishing Best use case Conferences, live product launches, live classes Webinar replays, on-demand content, SEO Most event organisers in 2026 use both approaches together: real-time transcription for live accessibility and attendee experience during the session, and post-event AI transcription from the recording for content repurposing, SEO, and replay accessibility. They serve complementary purposes and should be thought of as two stages of a single transcription strategy rather than alternatives. AI Transcription by Event Type: What Works for Each Format Event Type Primary Transcription Use Top Benefit Marketing webinars Post-event recap + SEO blog post Drive organic traffic to replay page Product launches Live captions + full event transcript Accessible to all + instant press content Online conferences Per-session transcripts + searchable archive Attendees reference any session anytime Virtual training / L&D Training transcripts for participant reference Searchable learning material after the session Thought leadership panels Transcript → blog post → newsletter → social One event generates weeks of content Internal all-hands meetings Transcript for employees who couldn’t attend live Inclusive, accessible company communication Customer success webinars Transcript for follow-up documentation Detailed record of commitments and Q&A Real-Time Transcription During Live Events Real-time AI transcription — sometimes called live captioning or live speech-to-text — converts spoken audio into text that appears on screen as the speaker talks, with a latency of typically 1 to 3 seconds. In 2026, it has become standard practice at professionally produced webinars and virtual events, driven by both audience expectations and accessibility legislation. Why Live Captions Have Become Non-Negotiable The case for live captions extends well beyond accessibility compliance, though that alone would be sufficient justification in many jurisdictions: How Real-Time AI Transcription Works in Practice The most practical approach to real-time transcription for most webinar and virtual event organisers in 2026 combines the recording capabilities of existing conferencing platforms with post-recording AI transcription for the primary content asset. Here’s why: 💡 Practical approach: For most webinar organisers, the highest-ROI strategy in 2026 is to enable the platform’s native live captions during the event for baseline accessibility, record the full session at the highest quality available, and then use TrulyScribe post-event to generate a comprehensive, accurate, and exportable transcript for all downstream uses. Setting Up Live Captions on Major Platforms Zoom Webinars: Microsoft Teams Live Events: Google Meet: YouTube Live / LinkedIn Live: Post-Event AI Transcription: Turning Your Recording into a Content Engine This is where the majority of the long-term value of webinar transcription is realised. Once your event has been recorded, AI transcription with TrulyScribe transforms that recording from a video file into a versatile, searchable content asset in under 30 minutes. The Step-by-Step Post-Event Transcription Workflow Step 1: Download your recording Step 2: Upload to TrulyScribe Step 3: Review and structure the transcript