

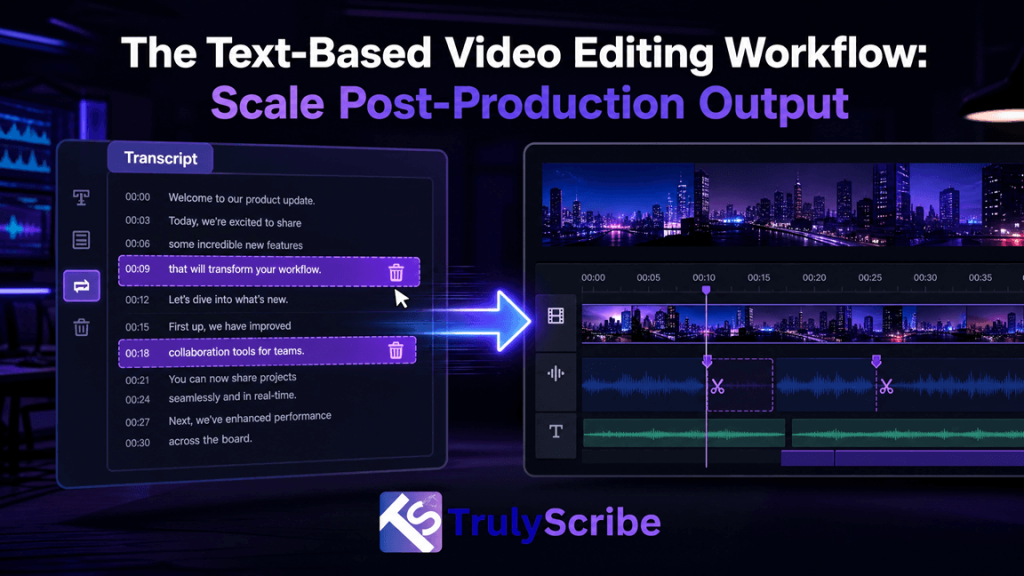
The Text-Based Video Editing Workflow: Scale Post-Production Output
The most frustrating bottleneck in video editing isn’t color grading, complex motion graphics, or sound design. It’s the tedious, manual grind of digging through hours of talking-head footage, documentaries, corporate interviews, or zoom calls just to find a single missing quote or build a cohesive narrative. For solo freelance video editors and post-production subcontractors, this time sink directly limits income. When billing clients per project, hours spent scrubbing back and forth across a timeline to sync talking points are completely unbillable. The industry has moved beyond this bottleneck. By shifting to a text-based video editing workflow, you can treat raw footage like a text document—cutting, searching, and organizing an initial rough cut in minutes instead of days. What is a Text-Based Video Editing Workflow? A text-based video editing workflow replaces manual timeline scrubbing with interactive, timecoded transcription. Instead of tracking audio waveforms visually or listening to files at double speed, the entire video is converted into text. The Core Shift: Editing text automatically edits the video timeline. When you delete a sentence from the transcript, the linked video clip is trimmed instantly. When you search for a concept, the playhead jumps directly to that frame. For freelancers working as subcontractors for agencies, production companies, or corporate clients, this workflow bridges the gap between raw footage and a tight paper edit (a script built out of transcript components before heavy software editing begins). Why Manual Scrubbing is Killing Your Freelance Profit Margins Consider a standard project: a client delivers three separate 45-minute raw corporate interviews and requests a tight, 3-minute promotional highlight reel. Under a traditional manual post-production workflow, the time breakdown looks grim: Post-Production Stage Traditional Workflow Text-Based Workflow Initial Review 135 minutes (Watching footage at 1x speed) 0 minutes (Automated parsing) Logging & Timestamps 90 minutes (Typing out notable quotes) 5 minutes (TrulyScribe automated export) Rough Cut Assembly 120 minutes (Slicing, grouping, closing gaps) 15 minutes (Text-selection compilation) Client Review Prep 30 minutes (Adding temporary subtitles) 2 minutes (Automated SRT integration) Total Administrative Time 375 minutes (6.25 hours) 22 minutes Using manual methods, you waste nearly a full working day on organizational administration before you even touch creative assets like B-roll, pacing, transitions, or sound layers. A text-based editing approach completely reclaims these lost billable hours. Step-by-Step Blueprint: The Text-Based Post-Production System To get the full time-saving benefit, you need to decouple the initial narrative structuring from your heavy Non-Linear Editor (NLE) software like Adobe Premiere Pro, DaVinci Resolve, or Final Cut Pro. Step 1: Batch-Upload Raw Footages to TrulyScribe Do not immediately import massive, unorganized multi-gigabyte source video files directly into your primary video editing timeline. This bogs down your computer’s local processing performance and clutters your software media workspace. Instead, run your raw multi-speaker files through TrulyScribe first. The platform processes raw files rapidly in the cloud, generating highly accurate, time-stamped text files complete with clear speaker differentiation. Step 2: Perform the “Paper Edit” Digitally Once the transcript populates, review the text. Use the search functions to find primary talking points, key phrases, or thematic responses. Step 3: Align the Transcript to the NLE Timeline Import your raw source video footage into your choice of desktop NLE (Premiere Pro, DaVinci, or Final Cut). Instead of guessing where edits should go, open your exported, timestamped TrulyScribe script on a secondary monitor. Because the script explicitly dictates where the best narrative arcs begin and end down to the exact second (e.g., [00:14:22 – 00:14:45]), you can snap your blade tool precisely to those timeline positions on your first pass. Step 4: Rapid Assembly of the Rough Cut With your text blueprint guiding your actions, perform a rapid extraction pass. Splice the selected audio segments out, push them together into a unified sequence line, and strip out the dead space. You now have a clean narrative spine ready for your primary creative additions: dropping relevant secondary B-roll over jump cuts, balancing dialogue tracks, color matching, and mastering final audio components. Advanced Subcontractor Techniques: Managing Remote Clients Asynchronously If you work as a freelance subcontractor for creative agencies, your greatest friction point is often the client review phase. Clients frequently send vague revision notes like “Can we change that middle quote to something that sounds a bit more punchy?” Instead of opening your NLE and hunting blindly for alternative clips, use your transcript assets to manage client communication completely asynchronously: FAQs: Text-Based Video Editing Workflows